

Removing one or more pages from a document before faxing is sometimes needed to save resources or simply to remove unnecessary pages. For example, if a new patient receives a registration packet from a physician’s practice, they may be required to return only the signature page, acknowledging they received the materials. Removing extra content from a document before faxing also saves time, as media and images increase fax transmission time.
With Fax.Live, you can delete any pages from your PDF before faxing. No need to open the document in a special program to edit; just choose the pages you want removed before faxing.
Let’s walk through an example of how to remove pages from your faxes before sending them.
How to Remove a Page Before Sending a Fax
Step 1: Upload your fax
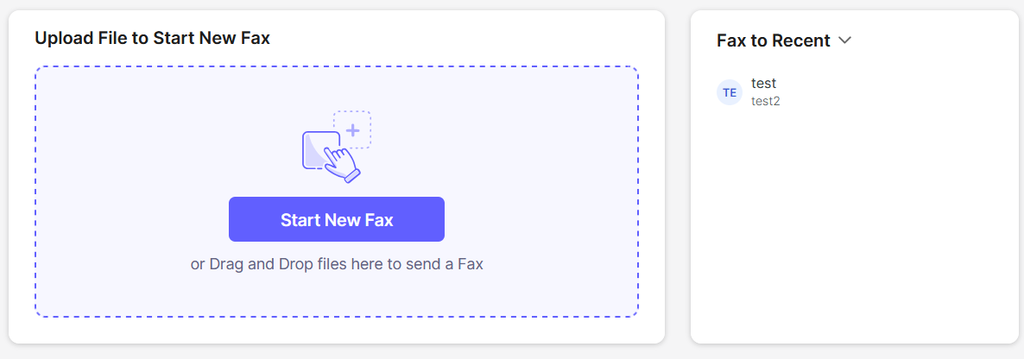
Log in to your Fax.Live account and click Start New Fax to upload a PDF. You can also drag and drop the PDF from your computer directly into the Fax.Live dashboard. Fax.Live recommends faxing PDFs to ensure the document’s formatting settings are preserved between sender and recipient, so make sure that you’ve saved or converted the document to PDF.
Step 2: Review your fax pages
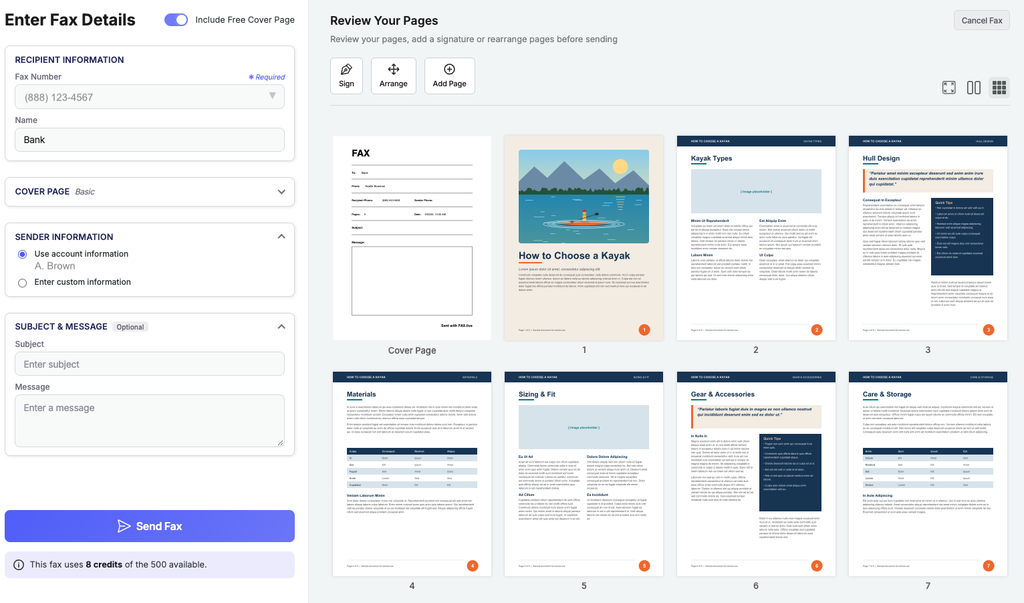
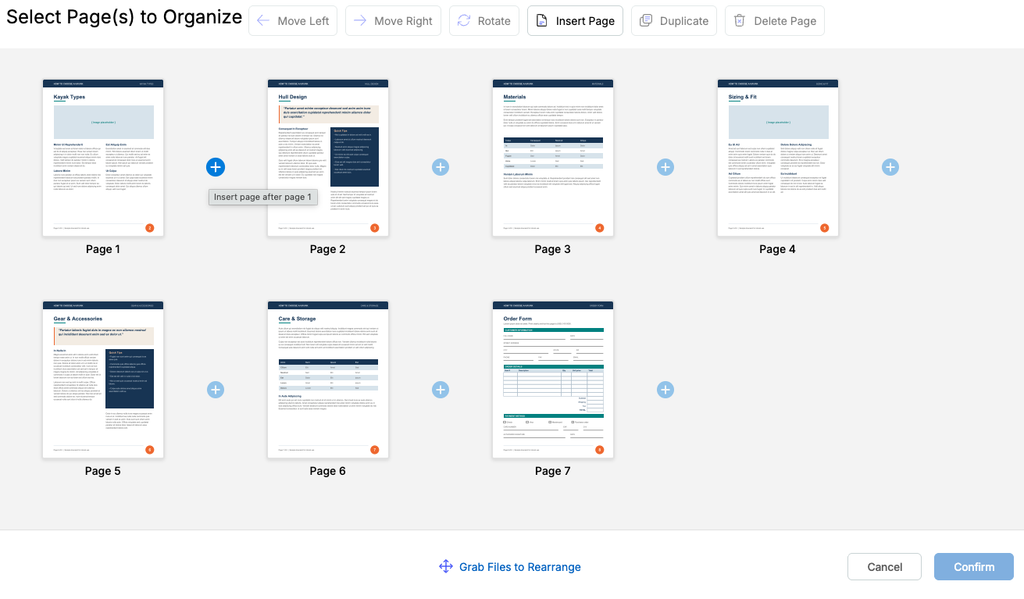
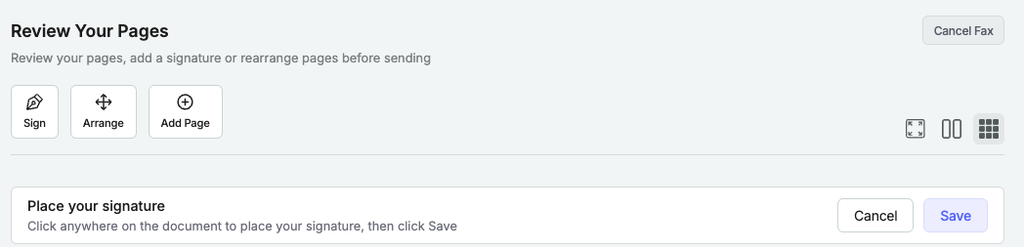
Once you’ve successfully uploaded your document to Fax.Live, click the Arrange button in the Review Your Pages menu. This will open a new menu with all of Fax.Live’s page management tools.
Step 3: Click a page you want to delete
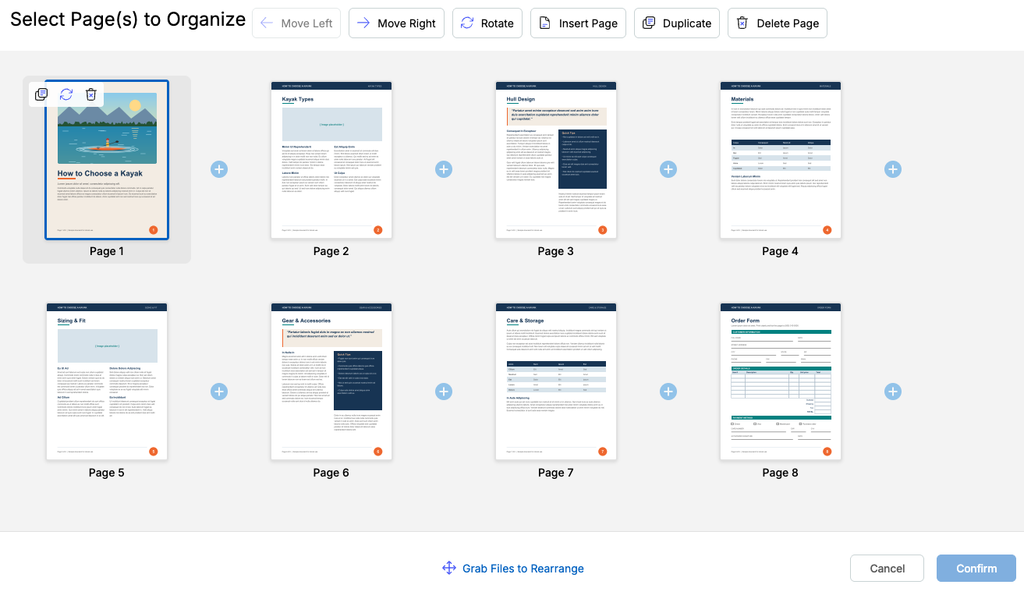
In the Fax.Live page management menu, click a page that you want to remove from your fax. In the above example, the document we’re sending has an image on the cover page isn’t necessary and will increase the fax transmission time (also, images can potentially cost the recipient more in printer ink and paper). Let’s remove it.
Step 4: Click delete page
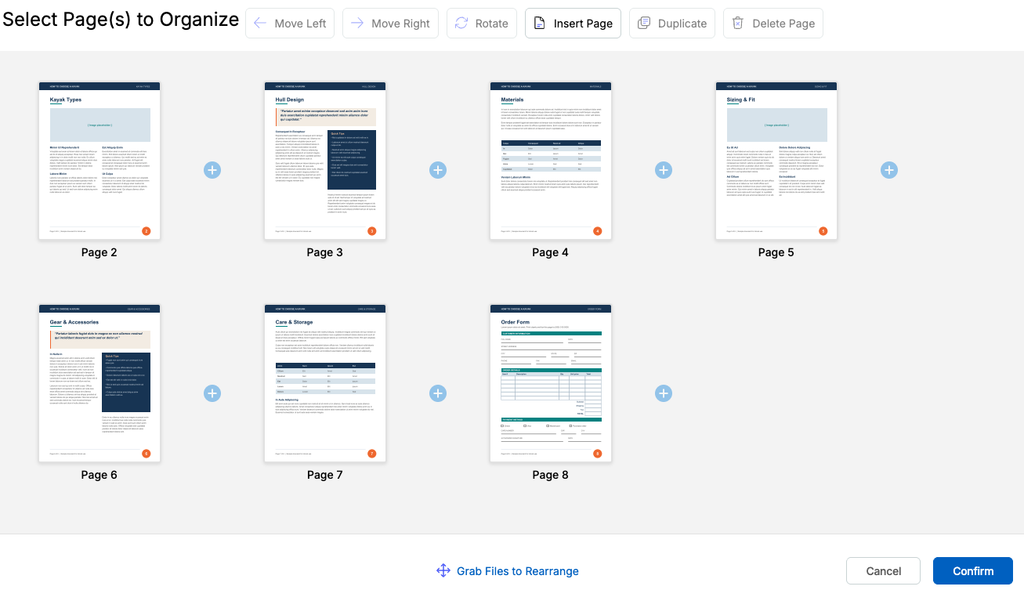
With a page selected in the page management menu, click the Delete Page button in the heading or click the trash can icon over the selected page, and click Confirm. This will remove the page from your fax. When sending the fax, the recipient will no longer receive the pages that you delete.
Step 5: Enter your fax information
Then, enter your recipient’s fax information in the Fax Details menu. Enter their fax number and click the optional free cover sheet if you want to provide the recipient information about who’s sending the fax and the intended recipient.
Then, click Send Fax to start transmitting your fax with pages removed.
FAQs About Deleting PDF Pages From Your Fax
Can I add the page back if I mistakenly delete it?
Yes, you can add fax pages back once they’ve been deleted. If you haven’t confirmed your changes yet, click Cancel in the page management menu to undo all of your page changes. However, there is no “undo” feature once you delete a page. To add a page back, follow the steps for removal and, from the Page Organizer, click Insert Page or the plus sign next to a page to add any new or old pages back to your fax.
If you want to start from scratch, you can return to the Fax.Live dashboard and re-upload your document to the Fax.Live interface to start again — you won’t use any credits during the editing process. Changes you make to your PDF in Fax.Live affect only that version; they won’t apply to the original PDF saved on your computer.
What if I want to move pages within a fax?
If you need to move pages in a fax, you can also rearrange their order in the Arrange menu of Fax.Live. Click a page and click the Move Right or Move Left buttons. We have a separate article on rearranging fax pages for more details.
What does the sign-a-fax feature do?
Signing a fax is possible within Fax.Live by clicking the Sign button. This will open a new menu for creating a signature and placing it anywhere in your fax. Learn more about how to sign a fax.
ID 2884646 | Delete | Appler | Dreamstime.com